
Do It Yourself Kitchens: How to Install Your Own Granite Countertop
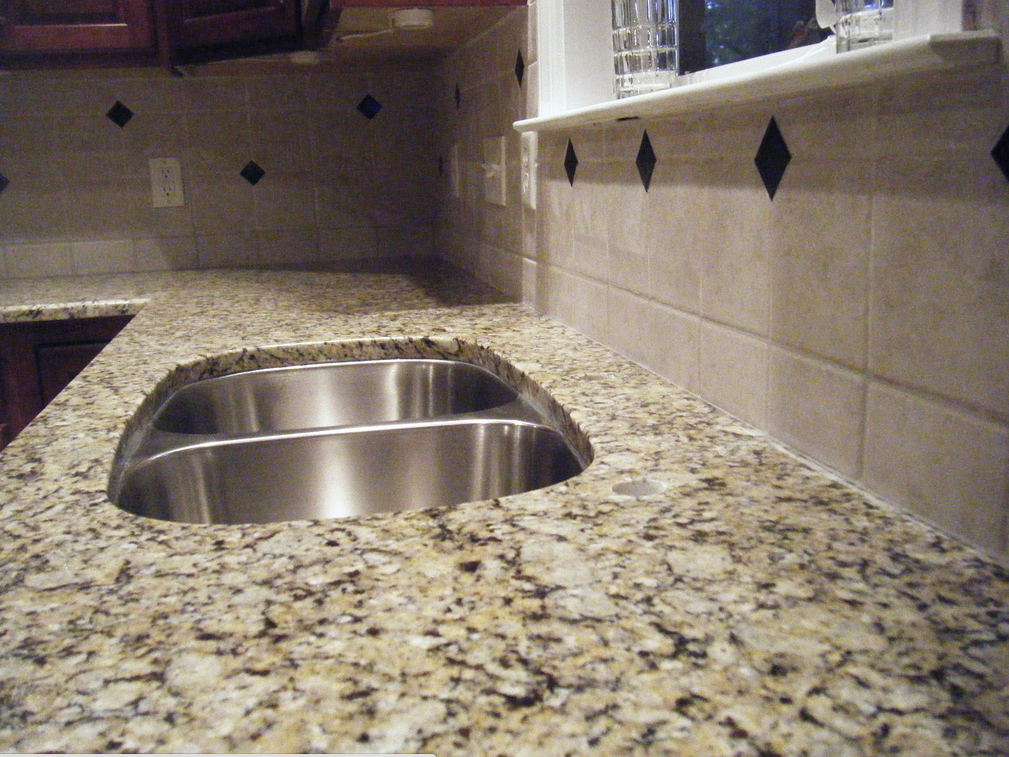
Image credit: http://www.flickr.com/photos/granite-charlotte
Granite countertops are a luxurious and functional addition to any kitchen or bath. In the past, installing granite was a job for the pros, with custom fabrication and installation costs running to thousands of dollars. Now, however, several companies offer do?it yourself granite countertop kits that you can install yourself, achieving professional results at a fraction of the cost. This step-by-step installation guide will help you get?expert results with your granite countertops.
Measure and Order Your Countertops
Before you start, make sure your cabinets are level, and securely anchored to the floor and walls. If your walls aren’t square, you’ll need to make allowances in your measurements. Use craft paper to make an exact template of your countertops, including lines for the sink and any other custom cutouts you need. Be sure to include a one to one and a half-inch overhang for the edges facing the cabinets. Select your granite color, and place your order based on your template.
Prepare Your Cabinets for the Granite
You’ll need to install a ? inch sheet of plywood on your cabinet tops to support the weight of the granite. Cut the plywood so that it lies even with the edge of the cabinet face; you do not want any overhang. Make sure wood is square and level. Screw the plywood in place using pilot holes?to prevent cracking the wood.
Working with the Granite Slabs
Find a safe place to store the granite slabs upright while you work, and find a partner to help?granite is very heavy and breakable. Carefully set the granite in place to make sure the pieces fit properly. Trace the sink hole and any other custom cuts onto the plywood sub-counter. Remove the granite, and use a drill to create a pilot hole in the marked sink cutout. Using a jigsaw, cut out from the pilot hole to create a hole for the sink. Drop in and install the sink.
Replace the Granite and Prepare to Glue
Place the granite slabs on the counter, and press any seams tightly together. Fine-tune the leveling, since all the seams must be absolutely level before gluing. Use 1-1/2 inch screws beneath the plywood to make minute adjustments to the height of the granite, and measure continuously until the seams are smooth and level.
Glue the Granite in Place
Have your helpers lift the granite up, and apply silicone around the edges of the plywood using one-inch dollops every six to 12 inches around the perimeter. Lay a bead of caulk around the outer edge of the sink, and another bead on top of the sink to seal the granite side. Lower the granite slabs into place and make sure they are level and the seams are tightly matched.
Glue the Seams
Tape around either side of the seams with blue painter’s tape. Choose at least three colors to match the granite, and mix a little of each into separate dollops of resin. Mix with a putty knife, continually checking the resin color against the granite. When you have three satisfactory shades, add hardener to a mixture of three percent hardener and 97 percent resin. Using your putty knife, work quickly to dab and smooth the resin into the seams; you will only have about five minutes before the resin starts to harden. Start with the medium-hued shade, and then add dabs of the lighter color, using the darkest color last until you have a natural-looking match.
Finishing Touches
Immediately remove the tape so it doesn’t dry into the resin. After about an hour, smooth out the seams using a seam stone. Rub the stone in small circles using firm, steady pressure until the seams are sleek and smooth. Wipe the countertops down with warm soapy water to remove any grit. Protect your investment with a stone care system like Rock Doctor.
Use only granite-friendly cleaning products, and don’t expose your countertops to extreme temperatures. Granite countertops are a beautiful, durable way to update your home.


