
5 DIY Wall Decorating Ideas To Add To Your Space
Decorations are a strong reflection of your personal style mixed with your artistic vision. DIY decor is an even stronger way to show off your style and it gives you creative flexibility with exactly how you want your home to be designed. Here are 5 DIY wall decorating ideas to add to your space and fill your house with colors.
DIY String Wall Art
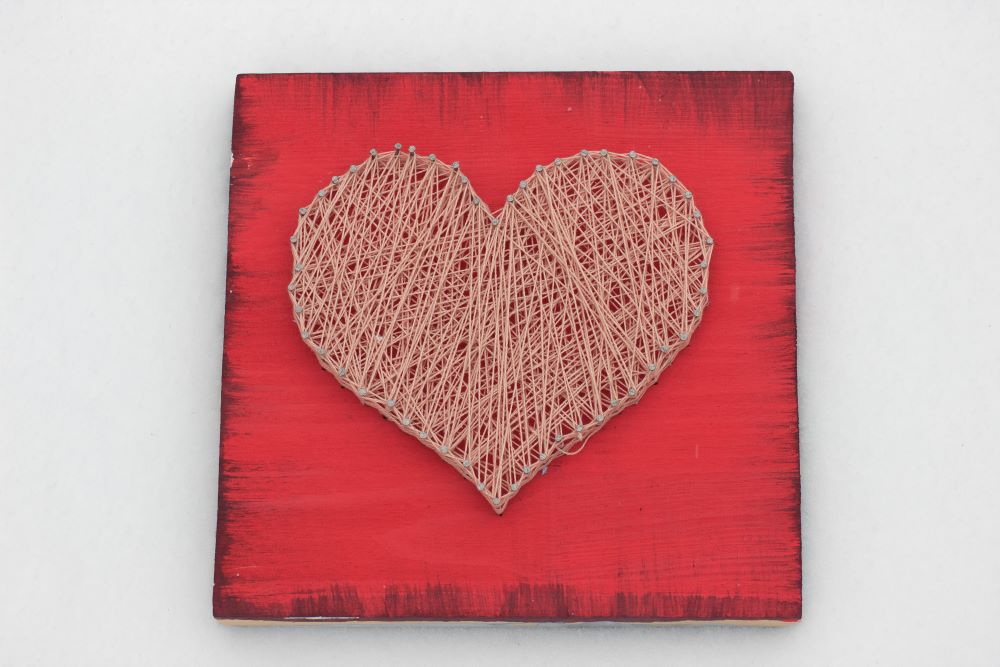
This DIY string wall art is a fun and creative craft that can be made in your own style! Don’t be intimidated by this project – it looks way more complicated than it actually is.
Have fun with the main shape, the colors, and the string pattern in this craft. You can choose to do it whichever way you want.
Supplies Needed
Canvas (Any Size)
Embroidery Floss (Assorted Colors)
Acrylic Paint (Any Color)
Paintbrush
Decorative Finish Nails
Printout Of Shape Or Word (Any)
Instructions
Step 1: Print out a large shape or word of your choice. Make sure it’s big enough to fit your canvas.
Step 2: Start by painting your canvas in any color of your choice. You can even use multiple colors. Make sure it dries thoroughly before moving on to the next step.
Step 3: Center your cutout on the canvas and tape it down.
Step 4: Push the nails into the board along the outline of your cutout. Make sure to keep the nails slightly raise so you are able to string them.
Step 5: Carefully remove the paper from the canvas once you finishing outlining it with nails.
Step 6: Now it’s time to string your canvas. Feel free to get as creative as you want with this step – use any variety of colors for the strings, and weave them through the nails in any pattern you want. Note: to get a string started, tie a knot around one pin and start weaving – tie a knot to another pin when you want to switch string colors.
Step 7: Hang up your masterpiece on the wall!
DIY Melted Crayon Art
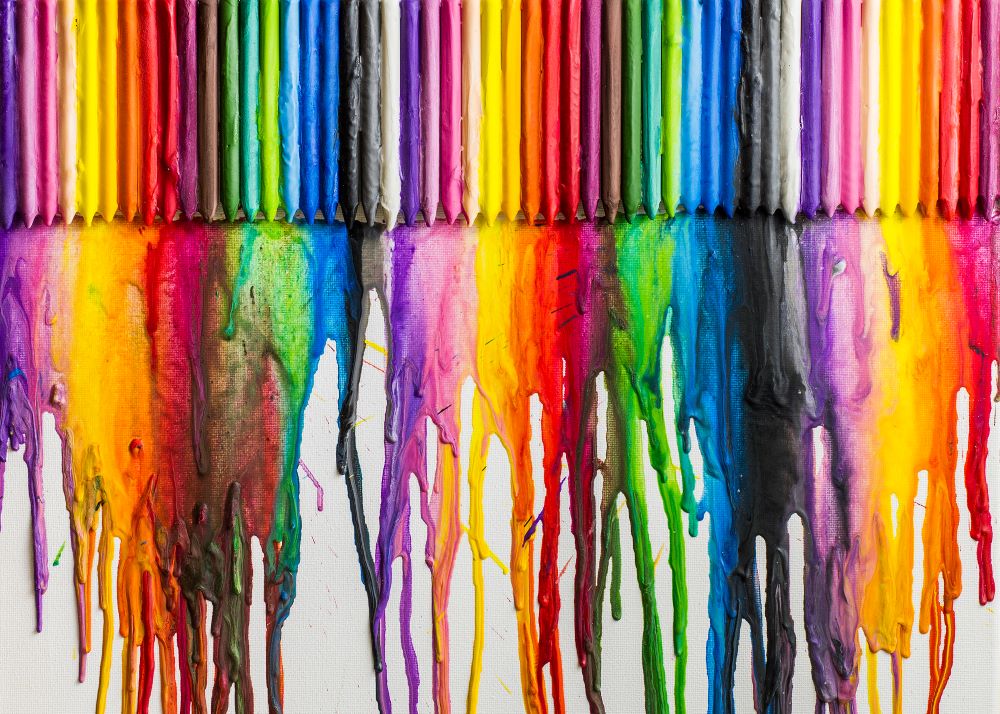
You may have seen this DIY melted crayon art around the internet before – it’s a popular and fairly simple craft that results in something beautiful and colorful!
You can use any canvas size you prefer, along with any crayon color scheme. A hairdryer is sometimes used for this craft; however, a heat gun will give you better results in a shorter amount of time.
Supplies Needed
24″ x 12″ Canvas
Crayons (96 Pack + Extra Packs)
Hot Glue Gun
Heat Gun
Instructions
Step 1: Start by sorting your crayons in a rainbow order or in any color scheme you want. You can choose to remove the wrappers around each crayon or leave them on.
Step 2: Start hot gluing the crayons onto the canvas – make sure they are evenly lined up next to each other across the top.
Step 3: Lean your canvas against something steady and make sure to put newspaper down – it will get messy!
Step 4: Now it’s time to melt the crayons. Hold the heat gun about 12 inches away from the crayons. Heat up the crayons section by section until the wax drips down the canvas. Note: this will take about 45 minutes total.
Step 5: Hang up your colorful painting anywhere in your house!
DIY Geometric Wall Art
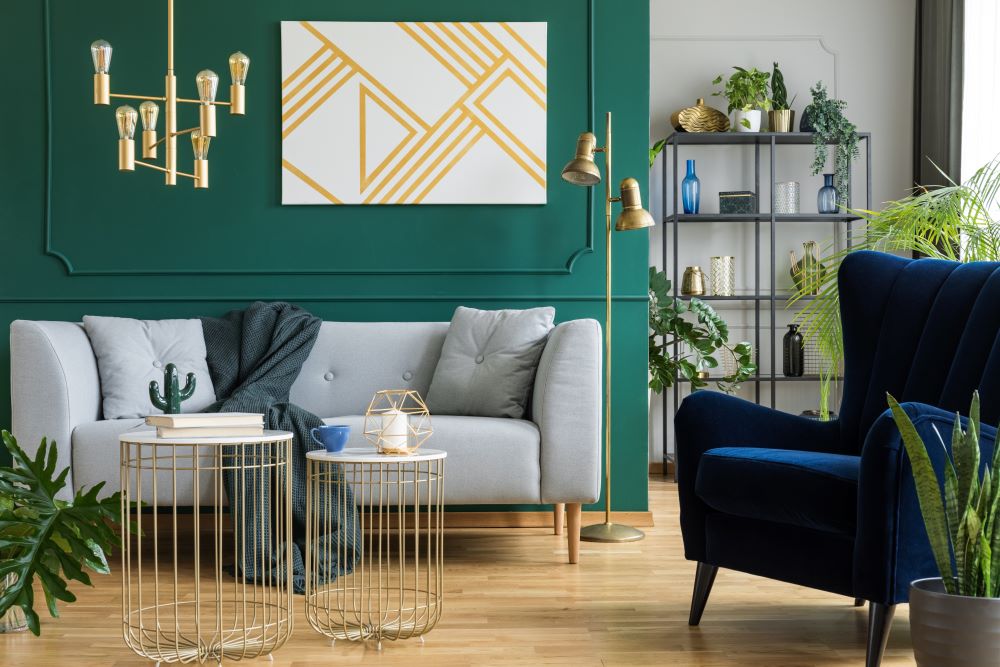
If you want to DIY an art piece that looks elegant but isn’t overly complicated to complete, this geometric wall art is a perfect craft for you to do!
If you’re unsure of what geometric patterns to do on your canvas, feel free to search patterns and designs online to give yourself some visual inspiration to look at while working on this project.
Supplies Needed
Canvas (Any Size)
Painter’s Tape (Thin Or Thick – Depends On Style)
Acrylic Paint (Any Colors)
Paint Brushes
Instructions
Step 1: Paint the entire canvas a solid color – it should be a fairly light color that another color can be painted on top of. Make sure it dries completely before moving to the next step. You may even want to let it dry overnight.
Step 2: Take your painter’s tape (either thin or thick) and start making patterns on your canvas. Be creative with your shapes and patterns!
Step 3: Paint your canvas with a new color to fill in the spaces between your tape. You can even use multiple colors – just make sure they are darker than your base color.
Step 4: Let the paint dry completely.
Step 5: Very carefully remove the painter’s tape. Admire your work and hang it up on the wall!
DIY Washi Tape Wall Art
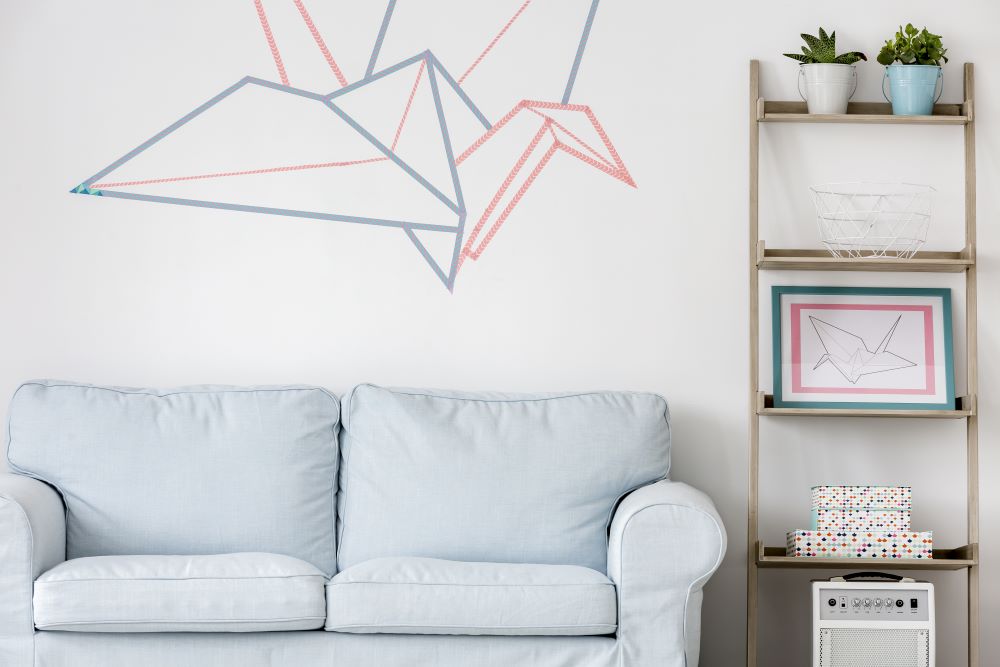
This wall art craft is so simple that it only requires the use of one main art supply: washi tape! Washi tape comes in so many colors and designs, so the possibilities are endless with what you can create on your wall.
This is especially fun to do in a kid’s room; however, it can look unique and interesting in any room of your house.
Supplies Needed
Rolls Of Washi Tape (Any Color/Design You Want!)
Stencil/Shape Printout (Optional)
Instructions
Step 1: Determine what design you want on the wall. Tip: you can either do a large outline of a shape, animal, or object (such as the paper airplane shown), or you can create a pattern by using small shapes all across the wall.
Step 2: Decide if you need a stencil or large printout to guide you in your design.
Step 3: If you’re doing a large outline of something, it helps to first draw the outline in light pencil on the wall. This will help you tape your design correctly. If you’re doing a layout of small patterns across the wall, it may be easier to free-form the tape.
Step 4: Take a step back and look at your design! The best part is that you can even change it up after awhile, seeing as it isn’t permanent.
DIY Fairy Light Photo Wall
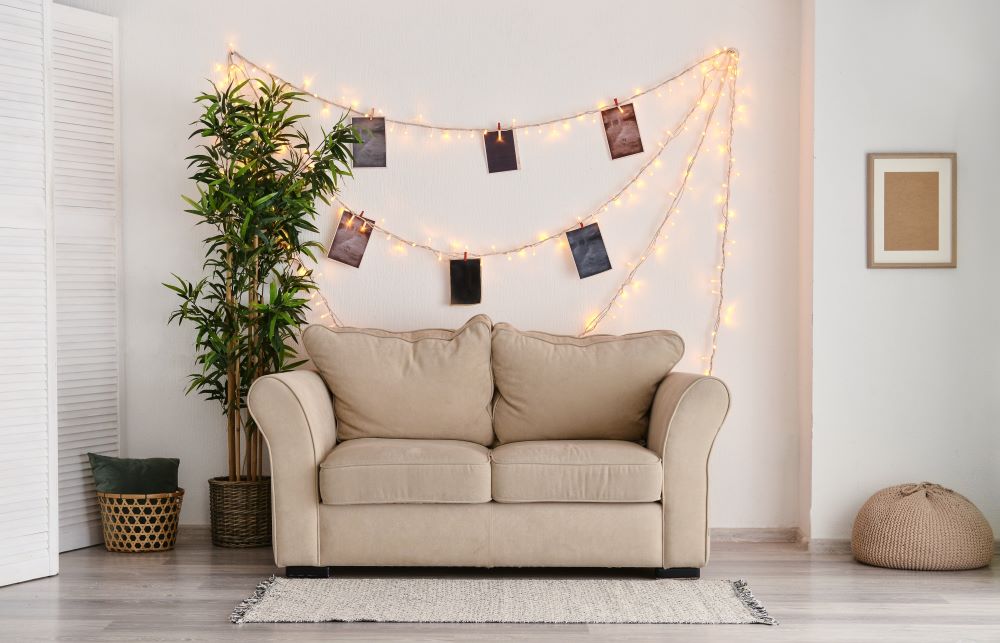
This last DIY doesn’t require any artistic abilities – it’s more of an easy hack that results in a beautiful and personalized wall!
Play around with colored fairy lights, along with different shaped lights. This can help you achieve a more unique look that stands out.
Supplies Needed
Fairy Lights
Clothespins
Tacks
Instructions
Step 1: Hang up the fairy lights across your wall, using tacks to hold them in place. These look best on the wall above your couch or above your bed; however, you can put them wherever you want.
Step 2: Use clothespins to hang photos across the fairy lights. Make sure to space your photos out evenly for an organized appearance. Note: Polaroid photos look especially charming.
Step 3: Plug your fairy lights in and admire the beautiful wall!
Looking for more decoration inspiration? Find decorative accents, candles, and more to coordinate with your wall art creations! Shop our Home Decor section.
Want even more inspiration? Check out these Wall Decor Ideas to freshen up your space!


