
5 Ways To Decorate A Pumpkin Without Carving
Halloween is around the corner, which means it’s time to get crafty with spooky and silly pumpkins! Carving pumpkins can sometimes be challenging, especially for kids. Luckily there are easier ways to decorate pumpkins while still staying in the Halloween spirit. Here are 5 ways to decorate a pumpkin without carving.
1. Painted Bats Pumpkin
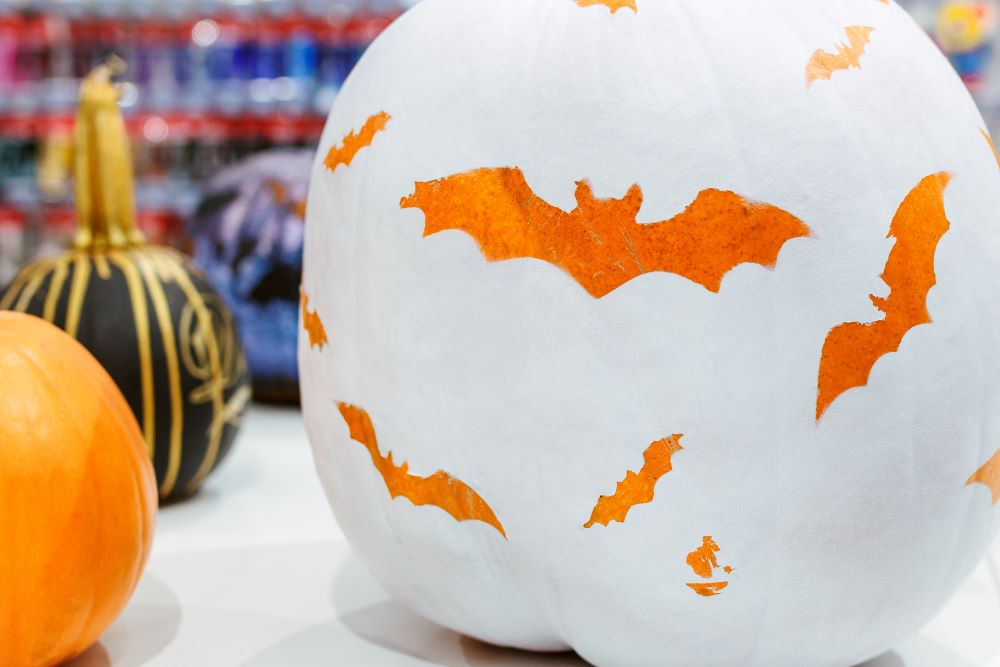
This Painted Bats Pumpkin is will look cute and festive displayed on your front porch! This is an incredibly easy way to decorate a pumpkin without carving – even kids can do this one. Feel free to swap the white paint for any color of your choice (black can look pretty cool too).
Supplies Needed
White Paint
Bat Cut-Outs
Tape
Foam Paintbrush
Instructions
- Print out images of bats in various sizes. You’ll want to cut them out carefully to prep for the craft.
- Next, tape down the bats around the pumpkin in any arrangement that you want. This is a temporary set up to get ready for painting.
- Once the bats are taped down, paint the entire pumpkin with the white paint (or other color).
- Let the paint dry completely.
- Finally, remove the the taped on bats and display!
2. Magical Mermaid Pumpkin
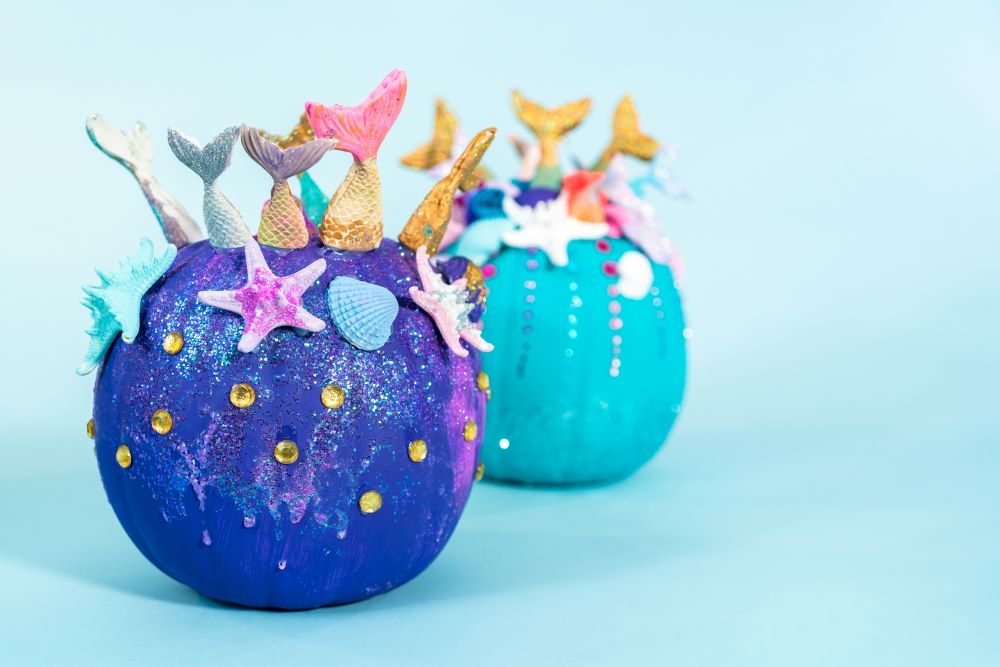
This Magical Mermaid Pumpkin craft is such a fun idea for young girls or people of any age! Glittery and mystical, these pumpkins will look unique displayed outside of your house or displayed in your kid’s bedroom. Have fun with this craft and put your personal touch on it with the gemstones and glitter, along with anything else you want to add.
Supplies Needed
Paint (Purple, Teal, Pink, or Any Color You Want)
Resin Mermaid Tails
Seashells
Gemstones
Glitter
Superglue
Foam Paintbrush
Instructions
- Start by painting your entire pumpkin with the color of your choice (purple, teal, and pink typically work best for a mermaid theme). You can also use multiple colors together.
- Let the paint dry completely.
- Next. superglue the mermaid tails on the top of the pumpkin. Glue about 6 around the top. You may need to use less or more depending on the size of your pumpkin.
- Once you’ve added the tails, you can superglue the seashells around the pumpkin. You may want to buy colorful seashells from the craft store or paint them yourself.
- Now it’s time to add the magical decor! Add some glitter, gemstones, and any other shiny accents to your pumpkin. Be creative with this step!
- Let everything dry completely before displaying.
3. Goofy Yarn Hair Pumpkin
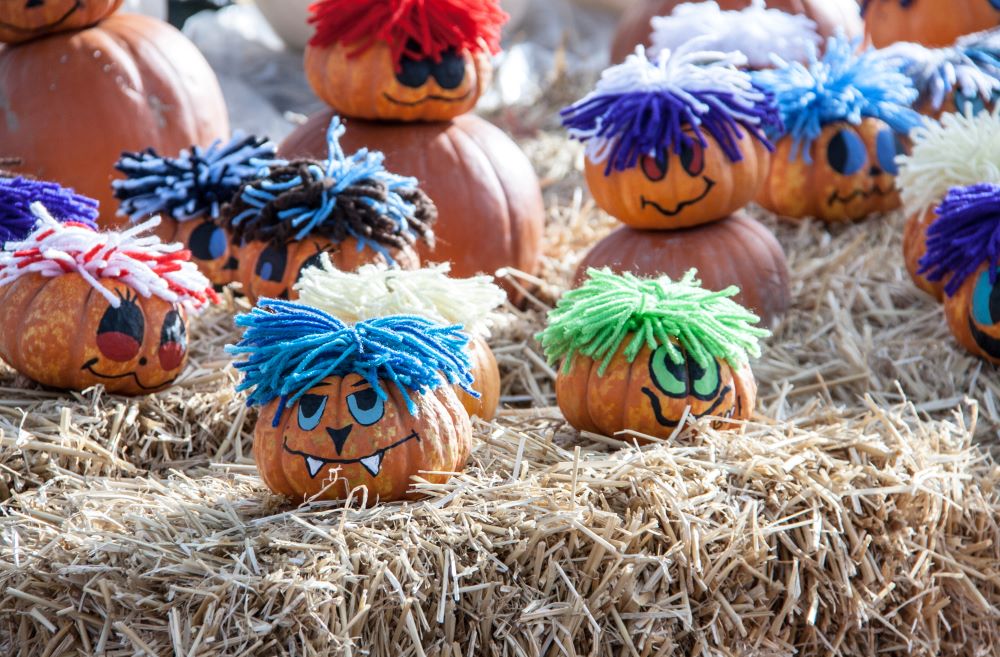
If you prefer a more fun and silly look for Halloween instead of creepy and spooky, this craft is for you! The Goofy Yarn Hair Pumpkin is simple to make and and is super fun for kids to create. Feel free to use a variety of yarn colors and paint pen colors to make it look the way you want!
Supplies Needed
Paint Pens (Variety of Colors)
Yarn (Variety of Colors)
Superglue
Instructions
- Start by painting on the pumpkin’s face with the paint pens. Try to make the face as goofy as possible! You can also print out a template to trace the face on for an easier method.
- Next, choose your yarn color. You’ll want to cut about a handful of yarn that’s long enough to cover the top width of the pumpkin.
- Cut an additional piece of yard to tie the handful of yarn together in the middle of the bunch.
- Superglue your bunch of yarn on top of the pumpkin to make the hair.
- Let it dry completely before showing it off on your porch!
4. Mini Gold & Teal Glitter Pumpkins
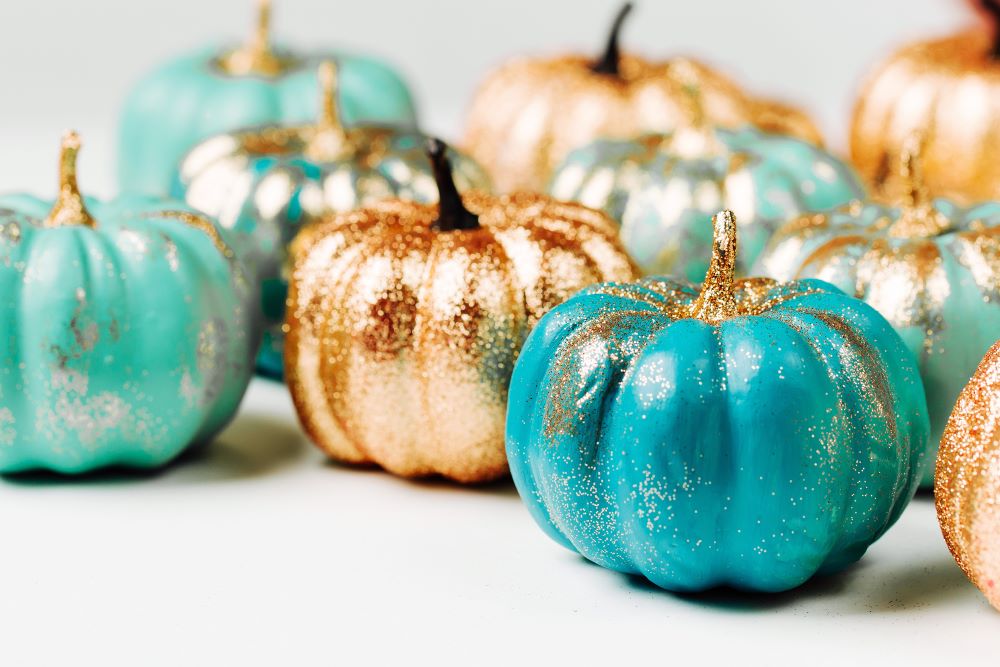
If you want to decorate a pumpkin without carving because you aren’t very crafty, you may want to opt for decorating some mini pumpkins! These Mini Teal & Gold Glitter Pumpkins are a simple and quick craft that will look beautiful displayed inside or outside your home. Get a bunch of mini pumpkins to decorate and display them inside of a fall themed bowl.
Supplies Needed
Gold & Teal Paint
Gold Glitter Paint
Foam Paintbrush
Instructions
- Paint your mini pumpkins with teal or gold paint. You may want to paint an equal amount of gold pumpkins to an equal amount of teal pumpkins for a clean look.
- Let the paint dry.
- Once the main paint color dries, you can add your gold glitter paint! There are many ways to add the glitter on: you can dab some around the pumpkin, paint the stem, or even cover the whole pumpkin in glitter.
- Once all the pumpkins are dry, display them in a decorative Halloween bowl in your living room or display them on your porch steps.
5. Black & White Splatter Paint Pumpkin
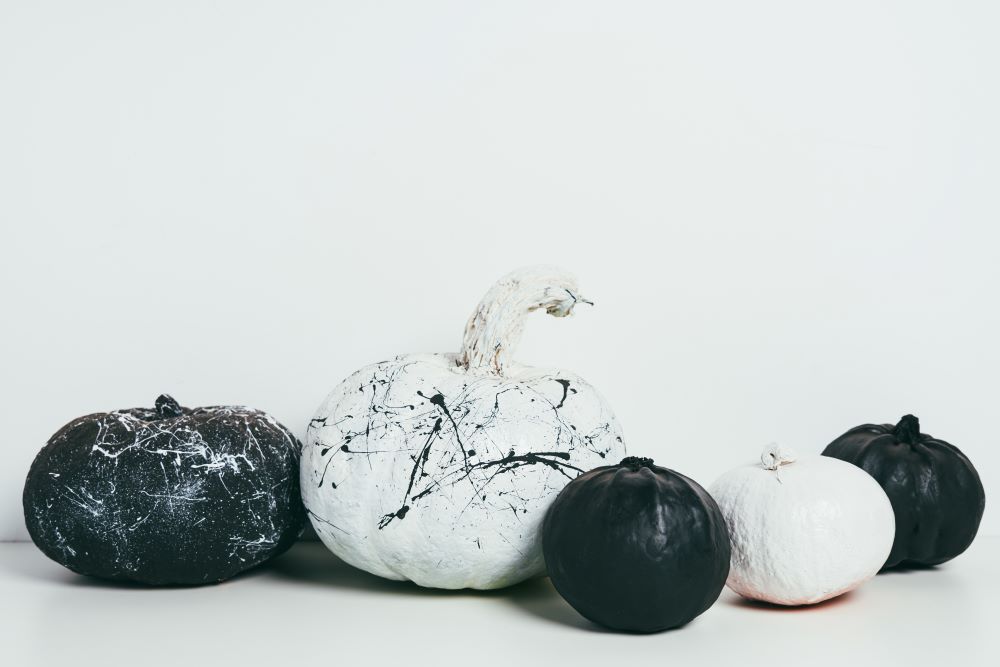
Crafting a Black & White Splatter Paint Pumpkin will result in a classy and fun look that looks nice displayed in any room of your house or outside! This project can get a bit messy, so make sure you do this in an open area, such as your backyard. You should also wear old clothes in case you accidentally get paint on yourself!
Supplies Needed
Black & White Paint
Foam Paintbrush
Small Craft Paintbrush
Tarp
Instructions
- Paint your entire pumpkin either black or white.
2. Let the paint dry completely.
3. Now is the fun part! Set down your tarp before you do this step. Take the opposite color of paint that you used for your pumpkin in step one. Put some on a small crafting paintbrush and gently flick the paint around the pumpkin. This will create the splattered look.
4. Let the splatter paint dry completely before displaying the pumpkin!
Want more pumpkin and Halloween inspiration? Shop our selection of Halloween Decor to find indoor and outdoor decorations, pumpkin themed accents, spooky decor, Halloween characters, and much more!
Read Next: 10 Fun Fall Activities To Do At Home


